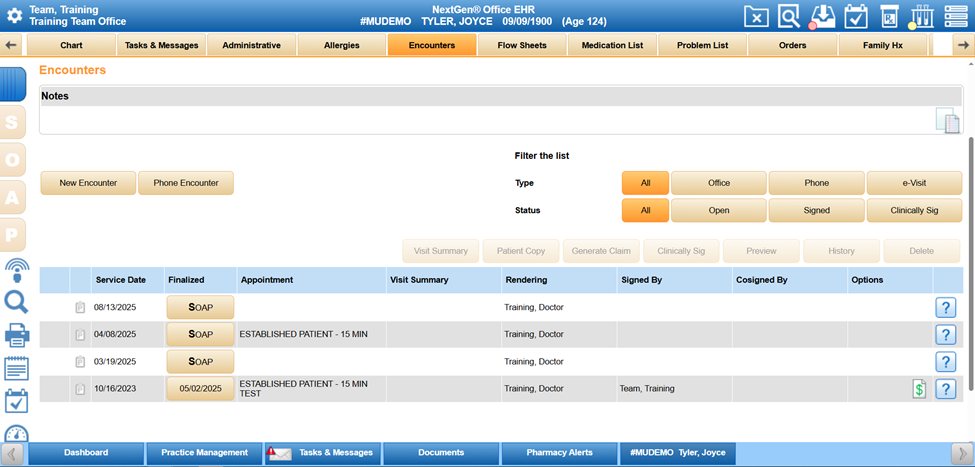
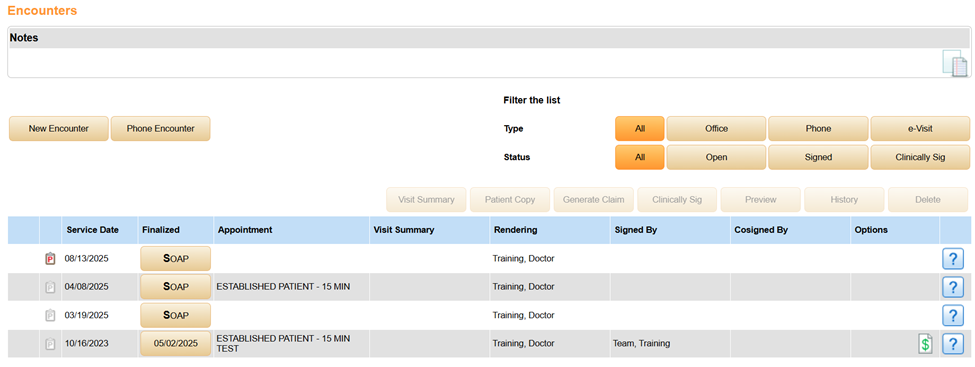
Use the Encounters tab to perform all actions related to encounters, including starting new encounters, opening started encounters, previewing and printing encounters, generating claims for an encounter, and marking encounters as clinically significant or portal private.
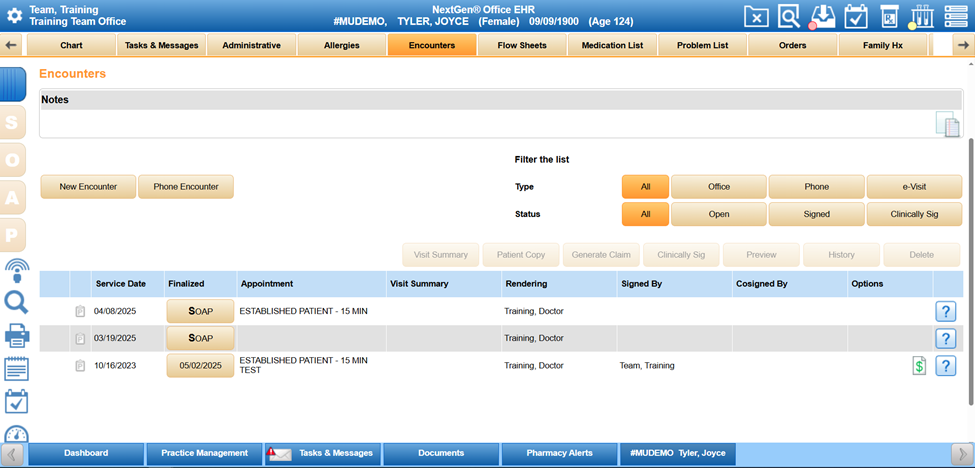
- Navigate to a patient's chart from the EHR Dashboard.
- Select the Encounters tab from the top menu bar.
- Use the filters to display only the selected types and statuses.
Start a New Encounter
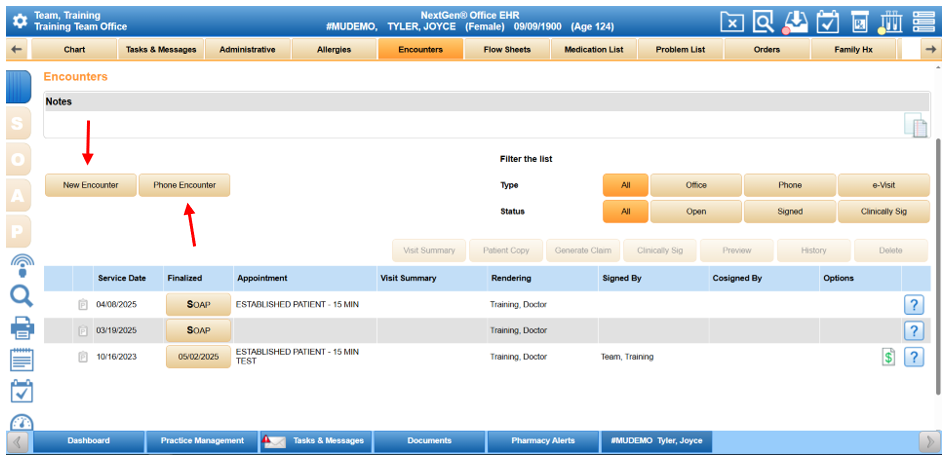
- To start a normal office visit encounter, click New Encounter.
- To start a phone encounter, click Phone Encounter.
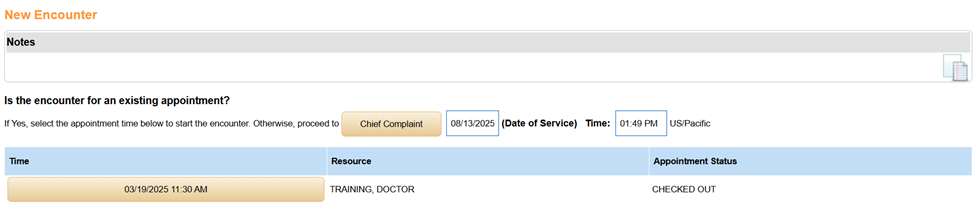
- If you selected New Encounter, click an existing appointment if the encounter is for an already-created appointment.
- If the encounter is for a new appointment, click Chief Complaint.
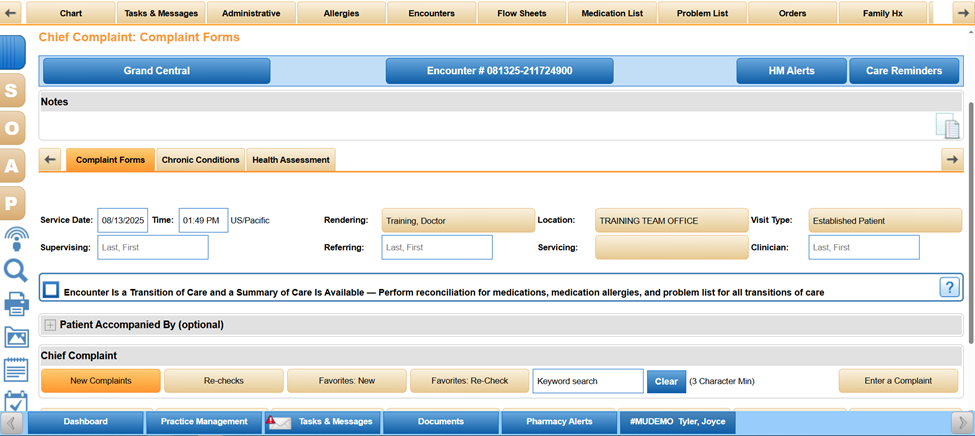
- On the Chief Complaint page, enter the required information.
- Select a complaint from the complaint panels or search for specific complaint in the search box.
Open Started Encounters
- If SOAP is displayed in the Finalized column, click SOAP to access the encounter. The letter in bold indicates the stage at which the encounter was last left open and is where you will be navigated to.
- If a date is displayed in the the Finalized column, the encounter is closed. Click the date to open the encounter and to add an addendum (e.g., header, footer, or body).
Patient Copy
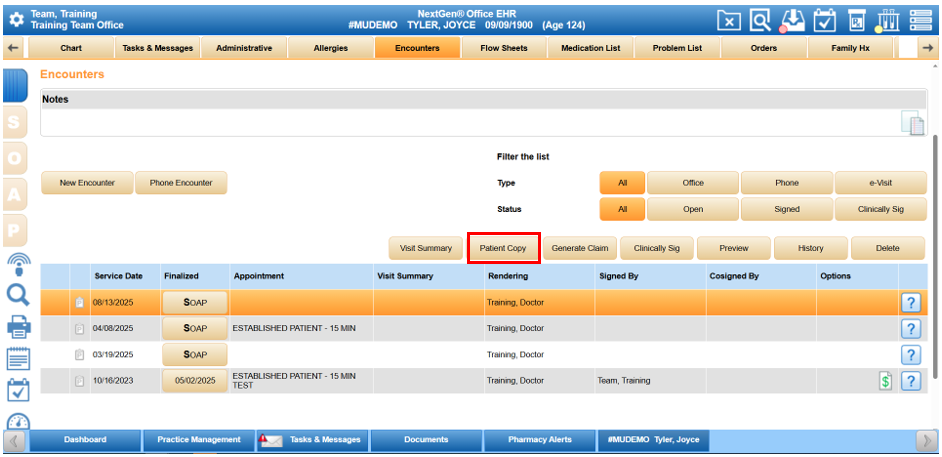
- Highlight the encounter and click Patient Copy.
- Deselect the checkboxes for the sections that should not be printed.
Generate Claim
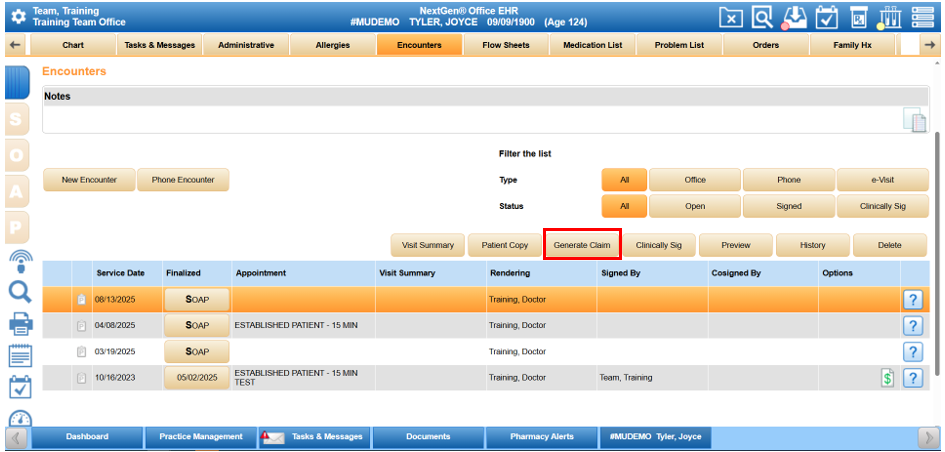
- Highlight the encounter and click Generate Claim.
- The system will not allow you to generate a claim if you have already generated the claim within the encounter. The dollar sign indicates that a claim has already been created.
Clinically Significant
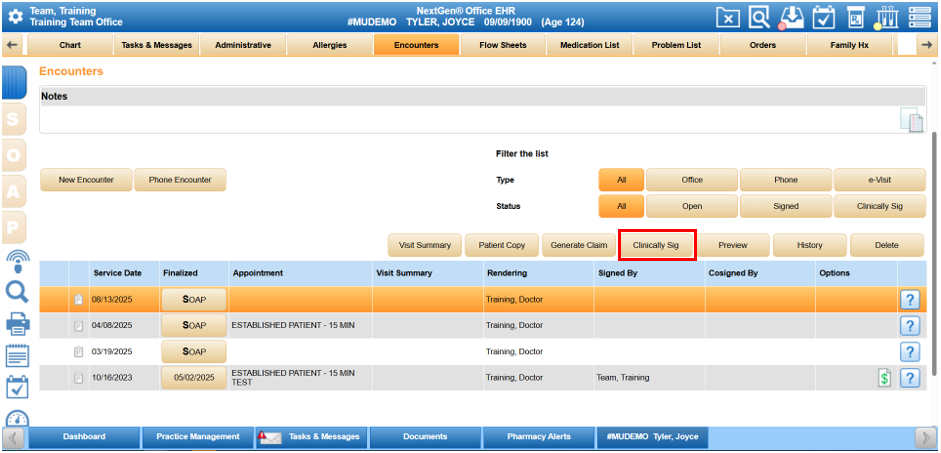
- Highlight the encounter and click Clinically Sig.
- The yellow star indicates that the encounter is clinically significant. The encounter will be added to the longitudinal record.
Portal Private
- When viewing the table of encounters,
 indicates that the encounter is private.
  indicates that the encounter is not private and can be viewed on the Patient Portal.
 - You cannot enable or disable the encounter's privacy by clicking this icon (whether it is red or grey). When you click this icon, you are navigated to the encounter summary where you can mark the encounter as private or not by using the Portal Private checkbox.
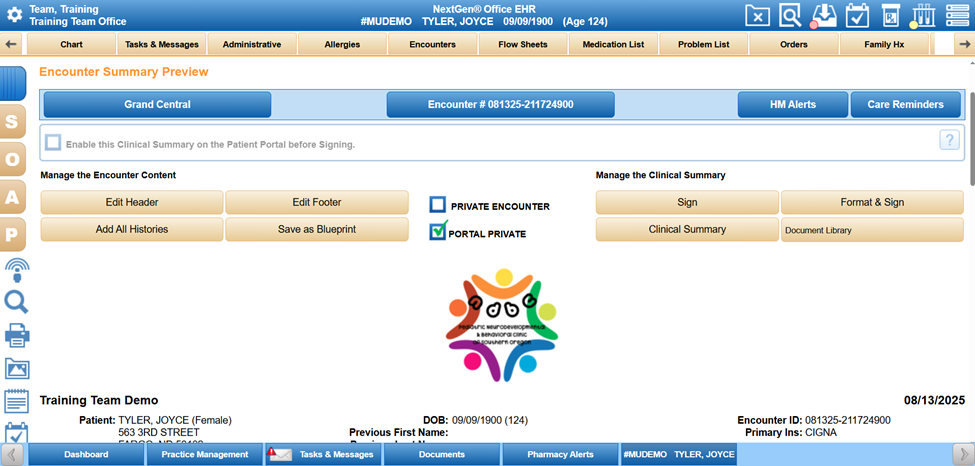
- To mark an encounter as private, select the Portal Private checkbox.
- The checkbox to enable the clinical summary on the Patient Portal before signing is disabled and cannot be selected unless you deselect the Portal Private option.
When you enable an encounter as private, this privacy setting automatically applies to the records that are created as part of the encounter, (e.g., medications prescribed during a private encounter inherit the privacy and, therefore, are also private). Individual records in a chart can be cleared of the privacy setting even if the associated encounter is marked as private. For more information, go to Patient Portal Privacy. The following types of records inherit privacy when an encounter is marked as private:
- Medication List
- Problem List
- Orders
- Medical History
- Social History
- Surgical History
Meaningful Use Tip:
Setting an encounter as private can affect your Meaningful Use reporting of the Clinical Summaries measure. By not making the encounter available to the patient on the portal, the encounter will not automatically be credited in the numerator for the measure. To obtain credit for the encounter, the clinical summary must be printed and provided to the patient.
Preview
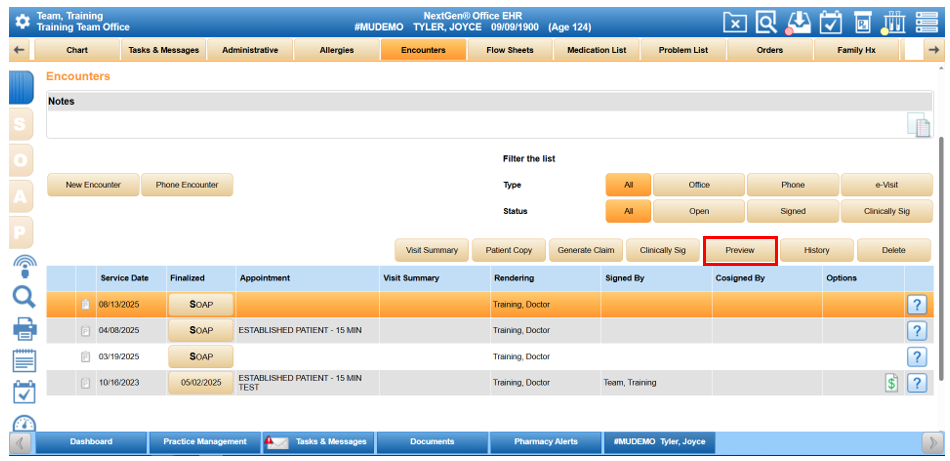
- Highlight the encounter and click Preview. This takes you to a clinical summary preview.
History
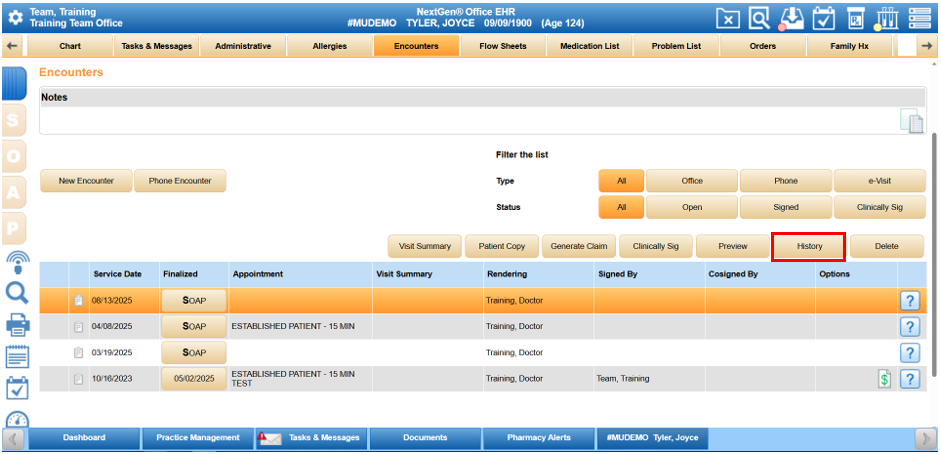
- Highlight the encounter and click History.
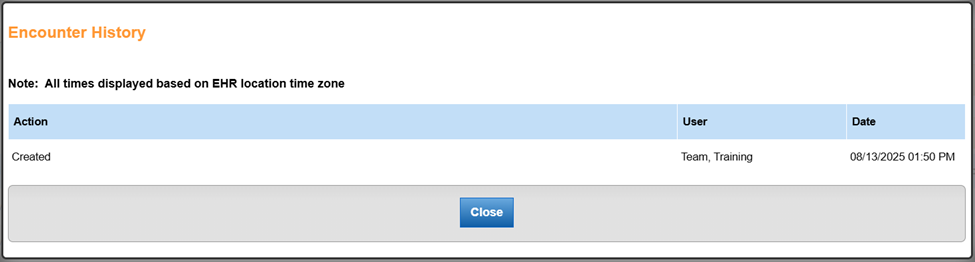
- The encounter history displays.
Delete
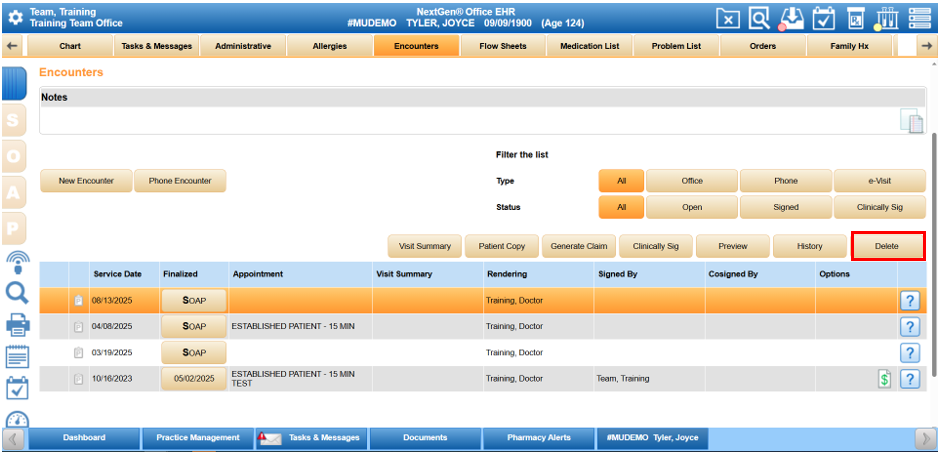
- Highlight the encounter and click Delete.
- Note: The encounter cannot be deleted if it has been signed.
Add Note to Claim/Page
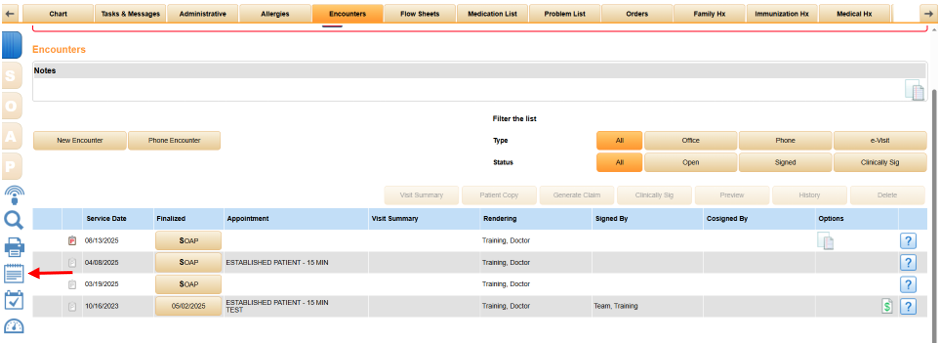
- To add a note to the page, use the Notes section.
- To add a note to an encounter, highlight an encounter and click the Note icon below the SOAP menu.
- After you add a note to an encounter, a note icon appears in the Options column of that encounter.
Last Review Date: 08/22/25

