The All Documents feature has scanning and uploading capabilities and enables users to easily manage all documents.
Upload a document from a desktop or laptop

- From an iPad, click Single File Upload.
- Click Browse and choose an existing file on the iPad, or take a photo.
- If the Take a Photo or Video option is selected, after taking the photo, the user will cancel out of the iPad camera view. Then click Browse a second time and Choose Existing.

- Select Single File Upload or Bulk Upload and then select the document. Bulk uploads are multi-document files that are uploaded as a single PDF, and are split and administered through the Document Inbox.
Scan a document
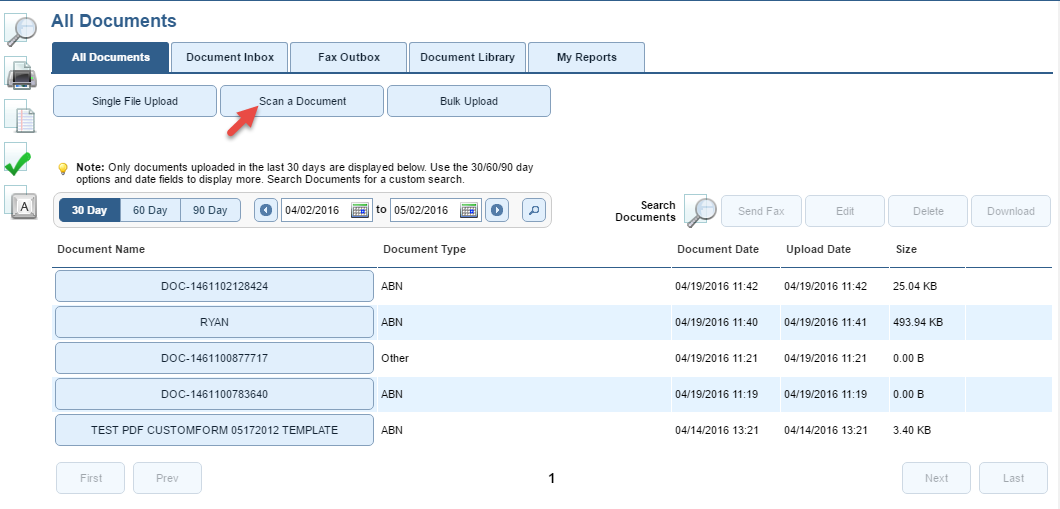
- Click Scan a Document.
- For instructions on how to scan documents, refer to Scan Documents.
Search

- From the EHR Dashboard, click Documents at the bottom of the screen and then click the All Documents tab.
- Click the Search Documents icon, input information into the (optional) fields, and click Search Documents.
- Click the check mark to include patient documents within the search results.
Preview

- Click on a document's name to display a preview.
- If the document does not open, highlight and then download the document. This is necessary if the file if not a type that can be viewed on an iPad, e.g. a word or excel file.
Edit/Delete/Download

- Select the document and click Edit to modify the upload options, click Delete to delete the document, or click Download to download and print.
Create a Practice Image

- Upload an image to the system and save as a Practice Image document type to use in the template creation. This image must be a photo file type when uploaded (i.e. jpg, gif).
Using the Practice Image

- Once saved, the image can be used when creating the document template by selecting the Practice Image tab. Click and drag the desired image into the template.

