You can customize preferences for your default view of CCDA preview. The sections at the bottom of the page update as you customize your preferences. CCDA preferences can be set from the EHR top toolbar and from the patient's chart.
From the Patient's Chart
- Click the Administrative tab.
- To generate the patient's CCDA file, click CCDA.
- In the Documents section, click the CCDA file.
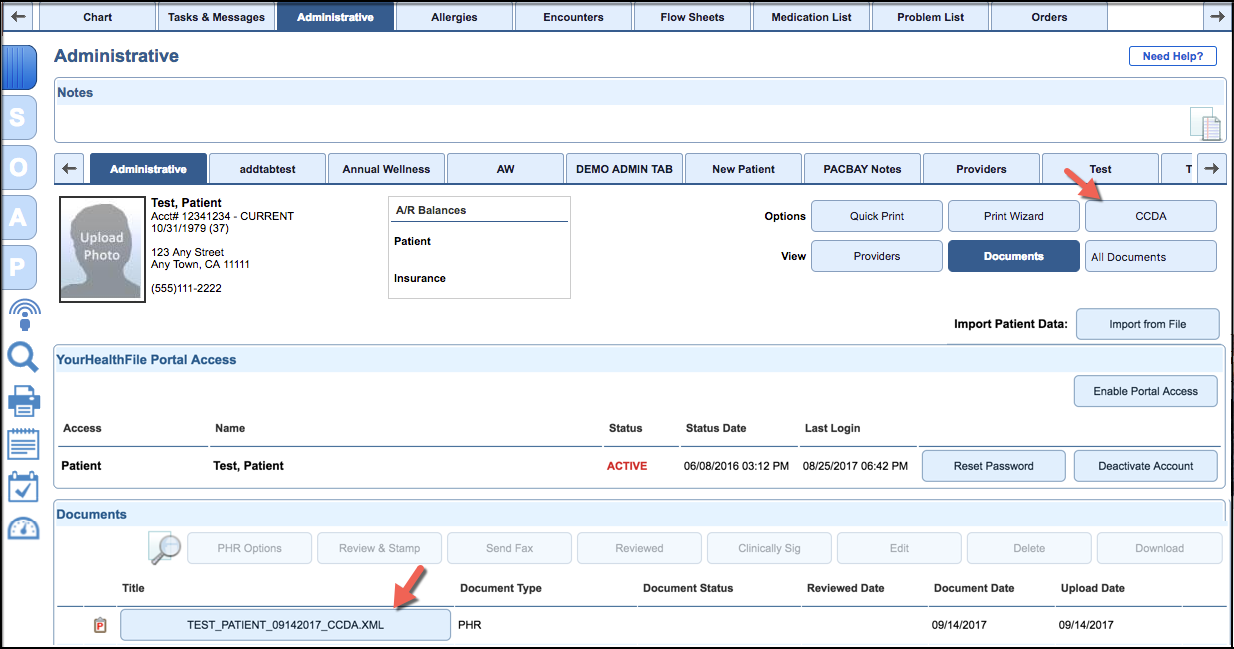
- Scroll to the preview page for the CCDA preferences.
- To specify which sections should appear, select the check boxes.
- To reorder the sections, click
 and then drag and drop the sections.
 - To save these preferences as your default view, click Save Preferences.
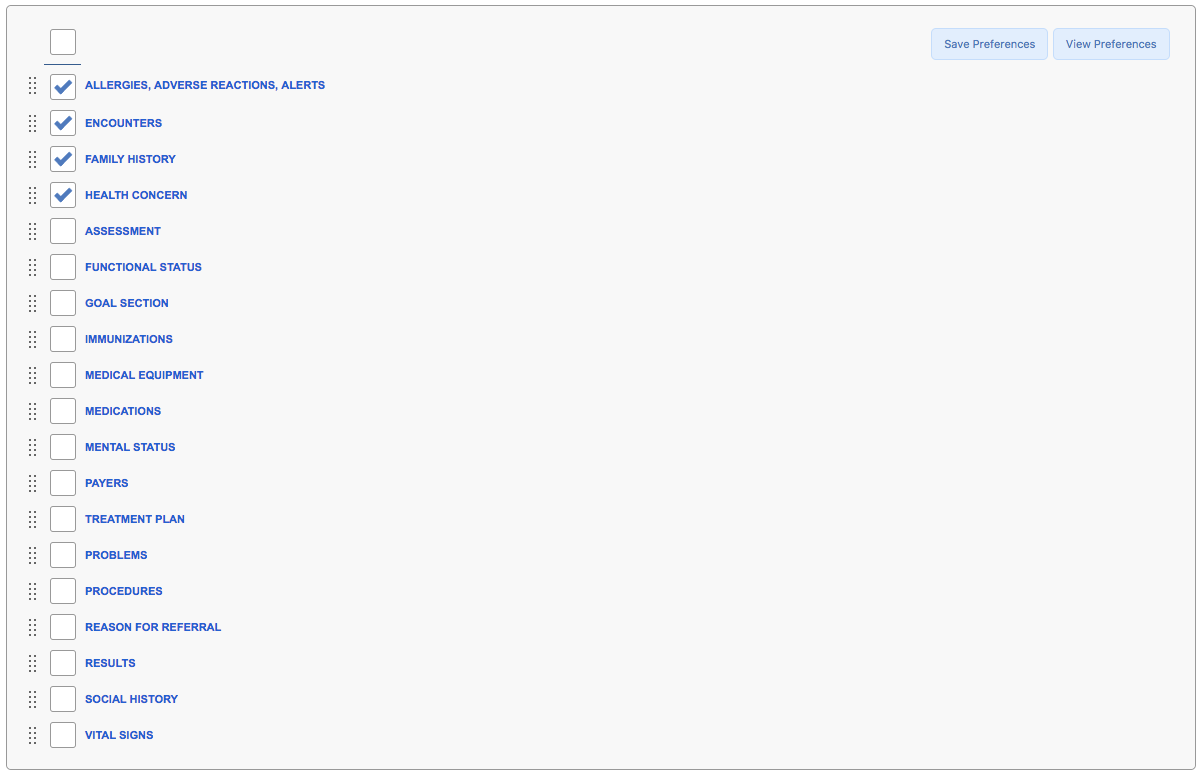
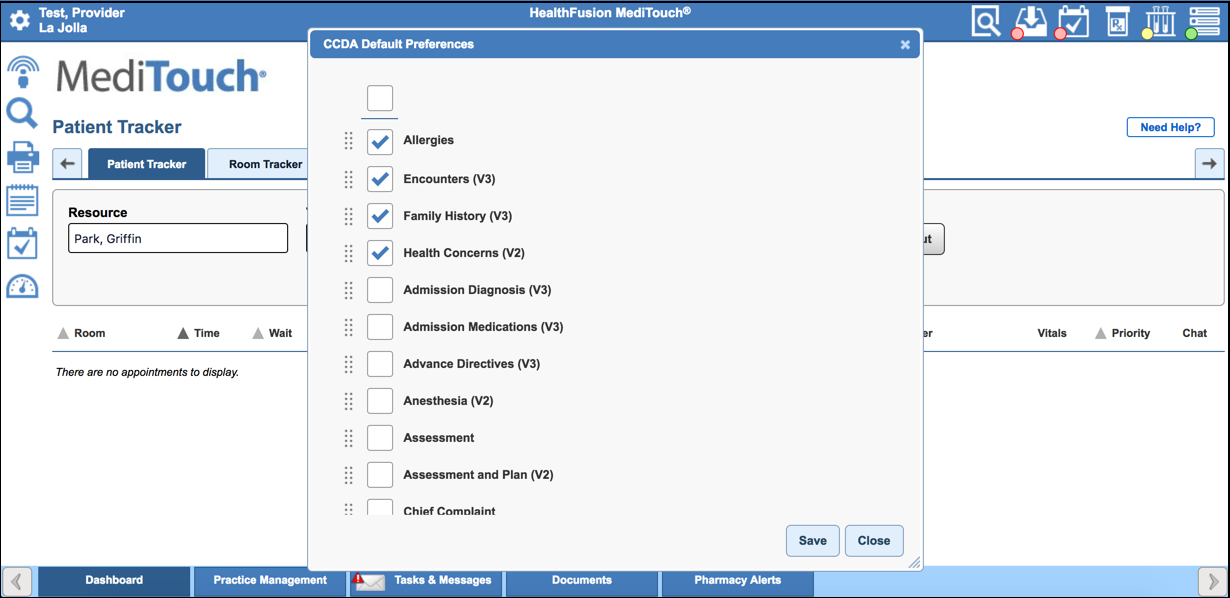
To view the default preferences, click View Preferences. You can also change your preferences in the CCDA Default Preferences window. If you made changes to your preferences, click Save.
From the Toolbar
Click  and then click CCDA Preferences.

You can also view, edit, and save preferences.